

A gentleman from California asked me if I could do a deer mask for his Halloween event. Only problem is, all I officially have of this particular mask is a half finished prototype, and no mold. How do I make another like it? For the first time in many years, I revisited positive casting. No, postive casting doesn't have anything to do with the artist's cheerful outlook in the studio, but instead has to do with reproducing a form OVER a shape, instead of INSIDE of one. Here's a quick tour of the process:

Here is my prototype mask,carefully covered in tin foil and duct tape, aka Robodeer. The foil on the nose is slit because this picture was taken after the cast was cut away from it.

Here is the beginning of the positive cast, Celluclay rolled out into 1/8" thick sheets and pressed down firmly over the foil-covered prototype. Your basic generic ungulate at this point.


Frankendeer. The cast has been cut off the prototype and reassembled.

Here the cast has been carved and sanded down with a Dremel, and the antlers temporarily attached. The antlers are also a positive cast, from a set of real whitetail antlers.

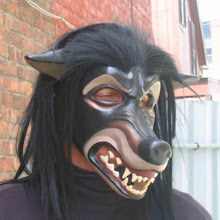
And here we have once again my long-suffering husband, trying the mask on for size. The poor guy had started to go to bed when I finished strapping and padding the mask, which didn't stop me from trying it on him!
Overall I'm pleased with the way the mask came out, although I wish I had been able to get it smoother. Usually I would have added Polyfilla or Paperclay and sanded it down in order to achieve this, but because this mask was already so big and heavy I worried that adding anything else to it would make it so heavy as to be unwearable. First and foremost, it needed to be wearable.