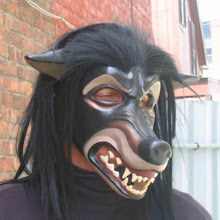
Here's the deer mask back in June. I felt pleased and thought all I needed to do was smooth and refine the antlers a little.
Ha, ha.

While I worked on bunny masks and looked at the deer mask just sitting on my workbench for the next several months, I realized the distance from the center of the mask to the tip of one antler was almost twice as far as to the other. Some asymmetry in deer antlers is to be expected, but not this much. Not cool.

So I cut the antler between the innermost and the three outermost tines and rotated the whole thing out a little. Not surprisingly, while the tip of the antler is more properly positioned, the tines are now tilted too far back. I stapled wads of tinfoil to the antler to use as an armature for new improved tines.


Then I took a photo of the mask, which I printed out and folded in half to check the relative positions of the two antlers to each other. The bottom edge of the left hand antler obviously need work, but otherwise, so far, so good.
Then I covered the new tines with Celluclay, cut off the old ones, and refined the rest of the antler a little bit.

I got rid of the lump on the underside of the left hand antler and...


OMG! How could I not have noticed before that the tip of the right ear is at least a half an inch higher than the left ear?? So I carved the bottom edge of the antler up a little...

... and brought up the edge of the left ear.

And here's where we are for the moment.
But wait, look, the second outermost tine on the right hand antler is about an inch longer than its conterpart on the left.... AAAGGGGHHHH!!!!


